Create a named event
What you'll do
Named events let you track a specific incident, planned event, or exercise separately from daily operations. Create one when you activate your EOC for something that deserves its own record: a structure fire response, a county fair, a tabletop exercise.
Before you start
- You have a role with Edit permission on Events (the built-in Editor role has this)
- You are in operations mode (the top bar shows Daily Operations). You can only create an event from the organization landing page or the event list, both of which are only reachable from operations mode
- You know the approximate start date and general location of the event
Steps
-
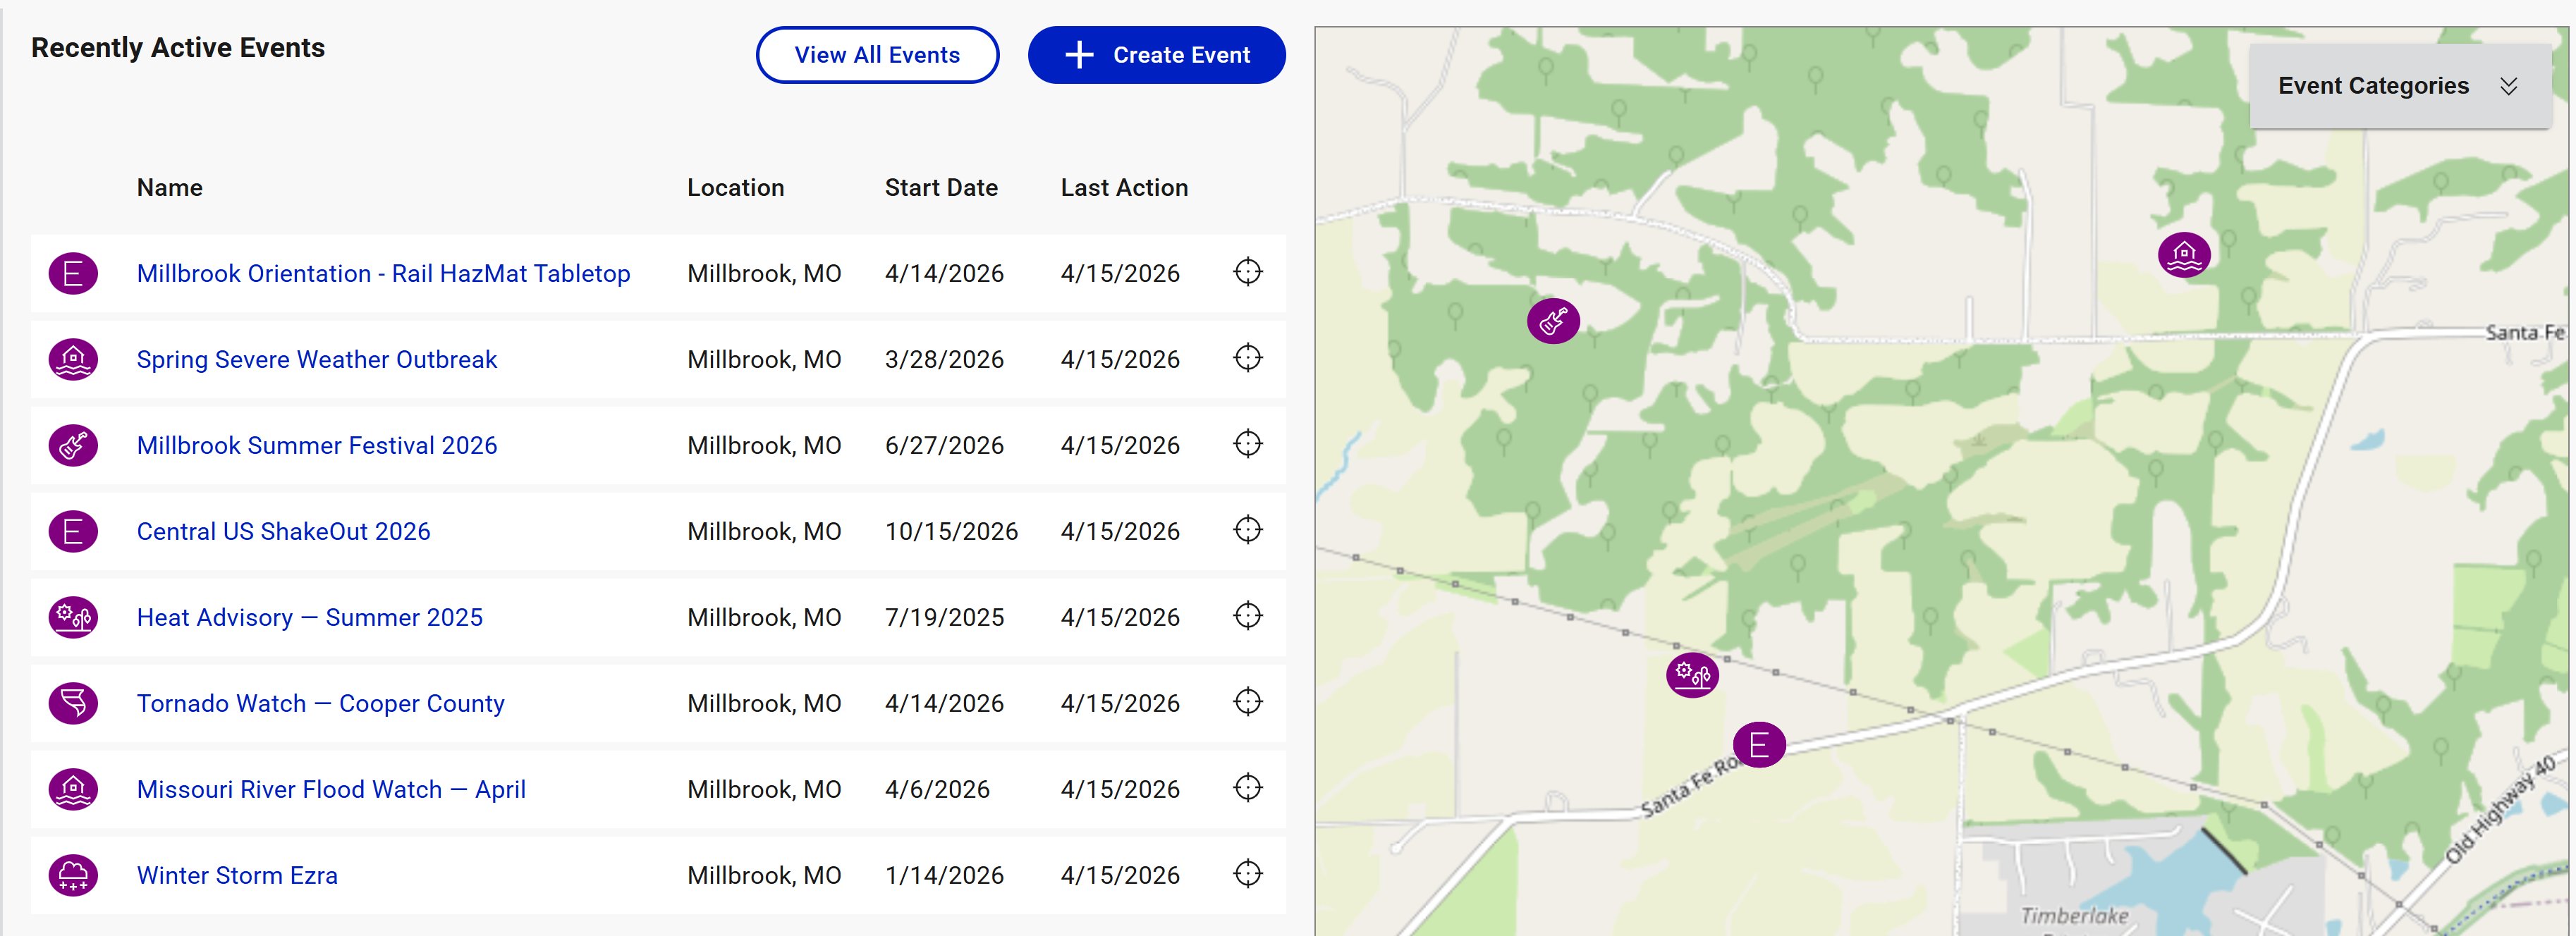
From the organization landing page, click + Create Event in the Recently Active Events panel. You can also start from the event list by clicking the events icon in the left navigation.
-
Enter a Name for the event. Be specific enough that you'll recognize it in a list months from now.
Structure Fire - Main St - April 2026is better thanFire.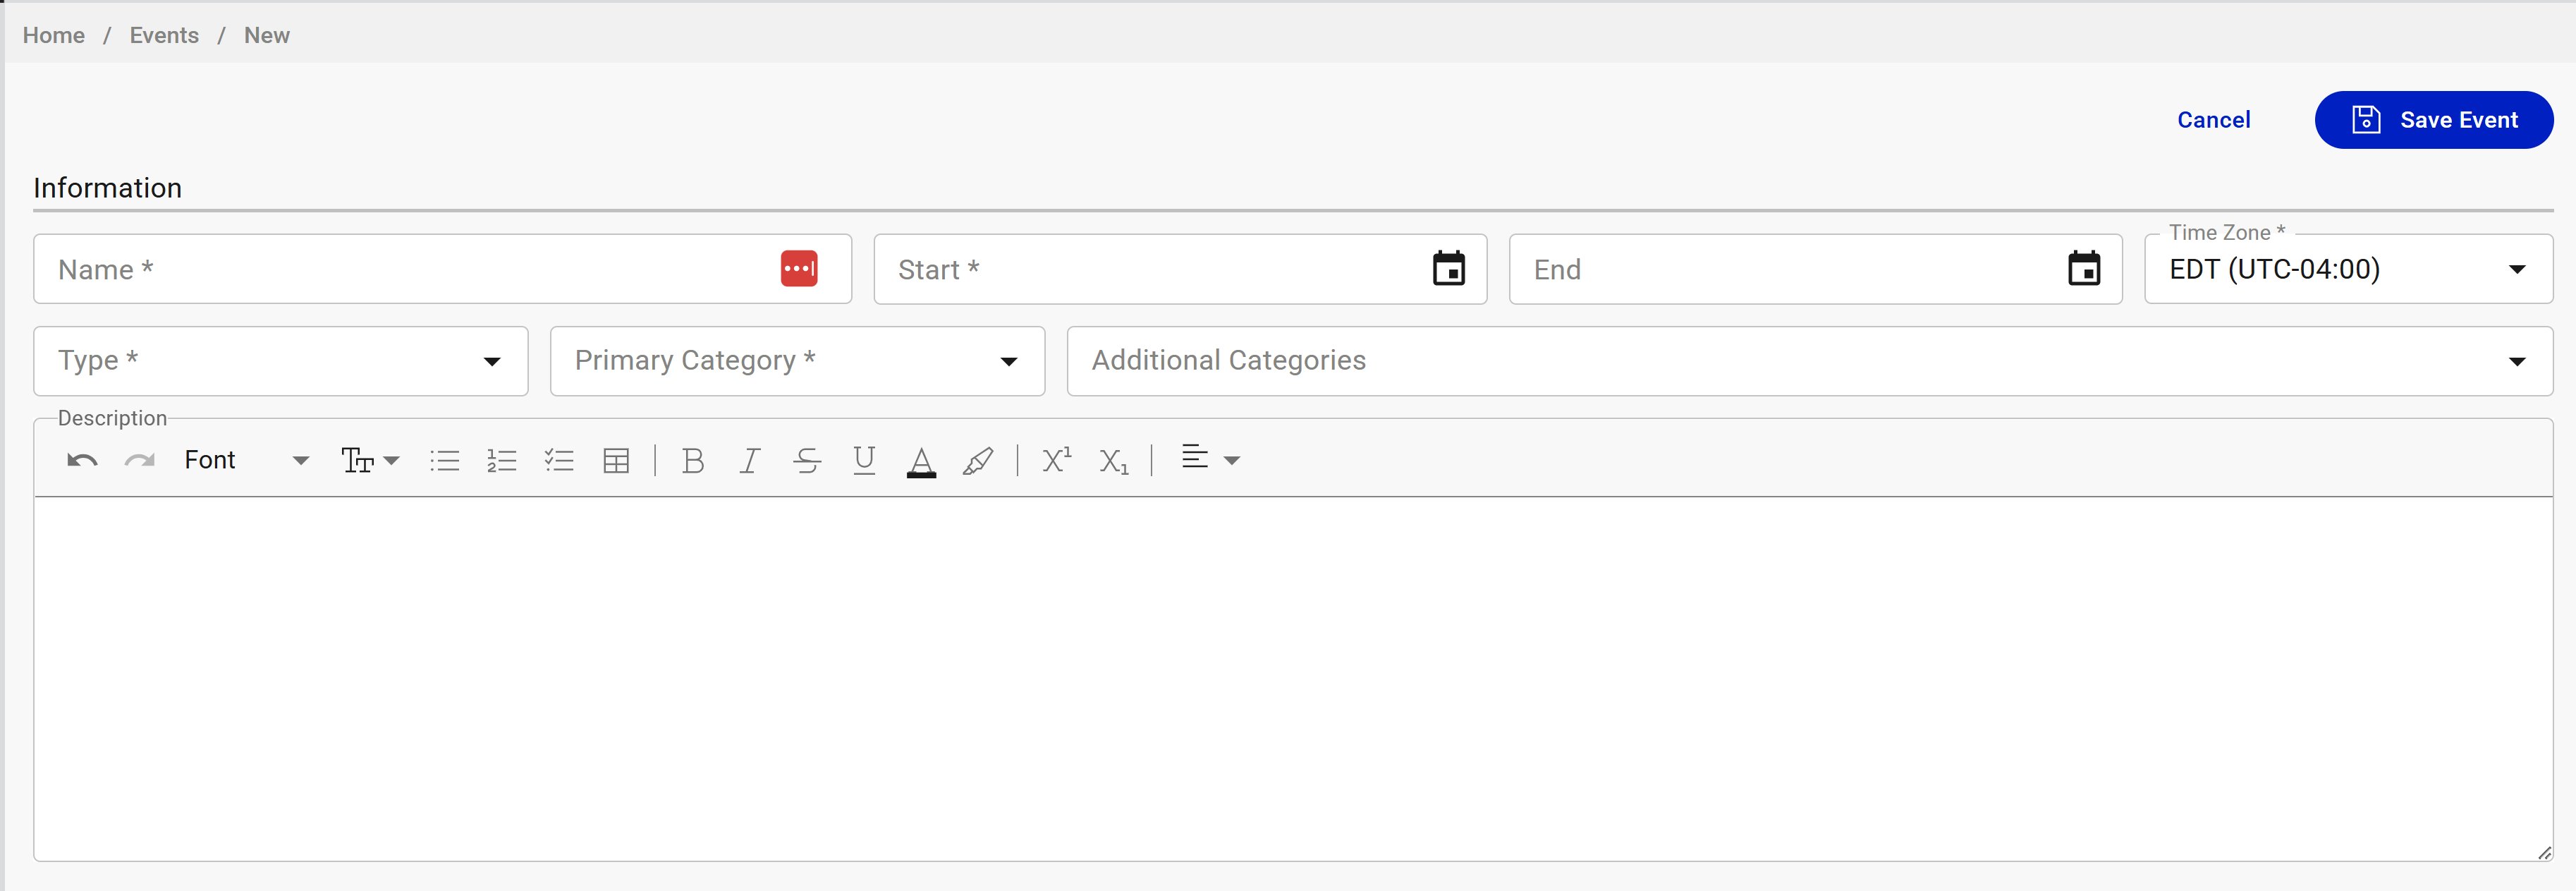
-
Set the Start date and time. Optionally set an End date. Leave it blank for open-ended events and set it later when you demobilize.
-
Confirm the Time Zone. It defaults to your organization's time zone, which is usually what you want.
-
Select a Type. This determines which categories are available next.
-
Select a Primary Category. If the event fits more than one category, add others in Additional Categories. A hurricane that causes flooding should have
Hurricaneas primary andFloodingas additional. -
(Optional) Add a Description using the rich text editor. Use this for anything that won't fit cleanly in the name: unit numbers, incident numbers, dispatch references.
-
Set a Location. You can click on the map to drop a pin, type coordinates directly, or enter an address. The location anchors the event on the map and is used when you add facilities and map annotations.
-
Click Save Event.
Result
The event is created and you are placed into it. The event name appears in the top bar and all COBRA tools (Logbook, Status Chart, Map, Files, Chat) are now scoped to the new event. The event also appears in the event list and in Recently Active Events on the organization landing page.
Tips
- You can update event details after creation if you have the right permissions. Don't agonize over getting everything perfect up front.
- Event names are visible to everyone in your organization. Avoid internal code names or anything sensitive.
- If the incident is already underway when you create the event, set the Start date to when it actually began. The event's timeline will reflect the correct start, even though you're creating the record later.